Custom SSO
Everything you need to know to implement custom SSO for YourGPT
This integration provides a way for site owners to authenticate their users and interact with YourGPT through a secure API using a custom SSO flow. The process involves generating and managing JWT tokens, validating them via YourGPT, and establishing a secure connection for user authentication.
How to Set Up Custom SSO?
- Log in or sign up for YourGPT.
- On the right side of the screen click on Account, then click on Settings.
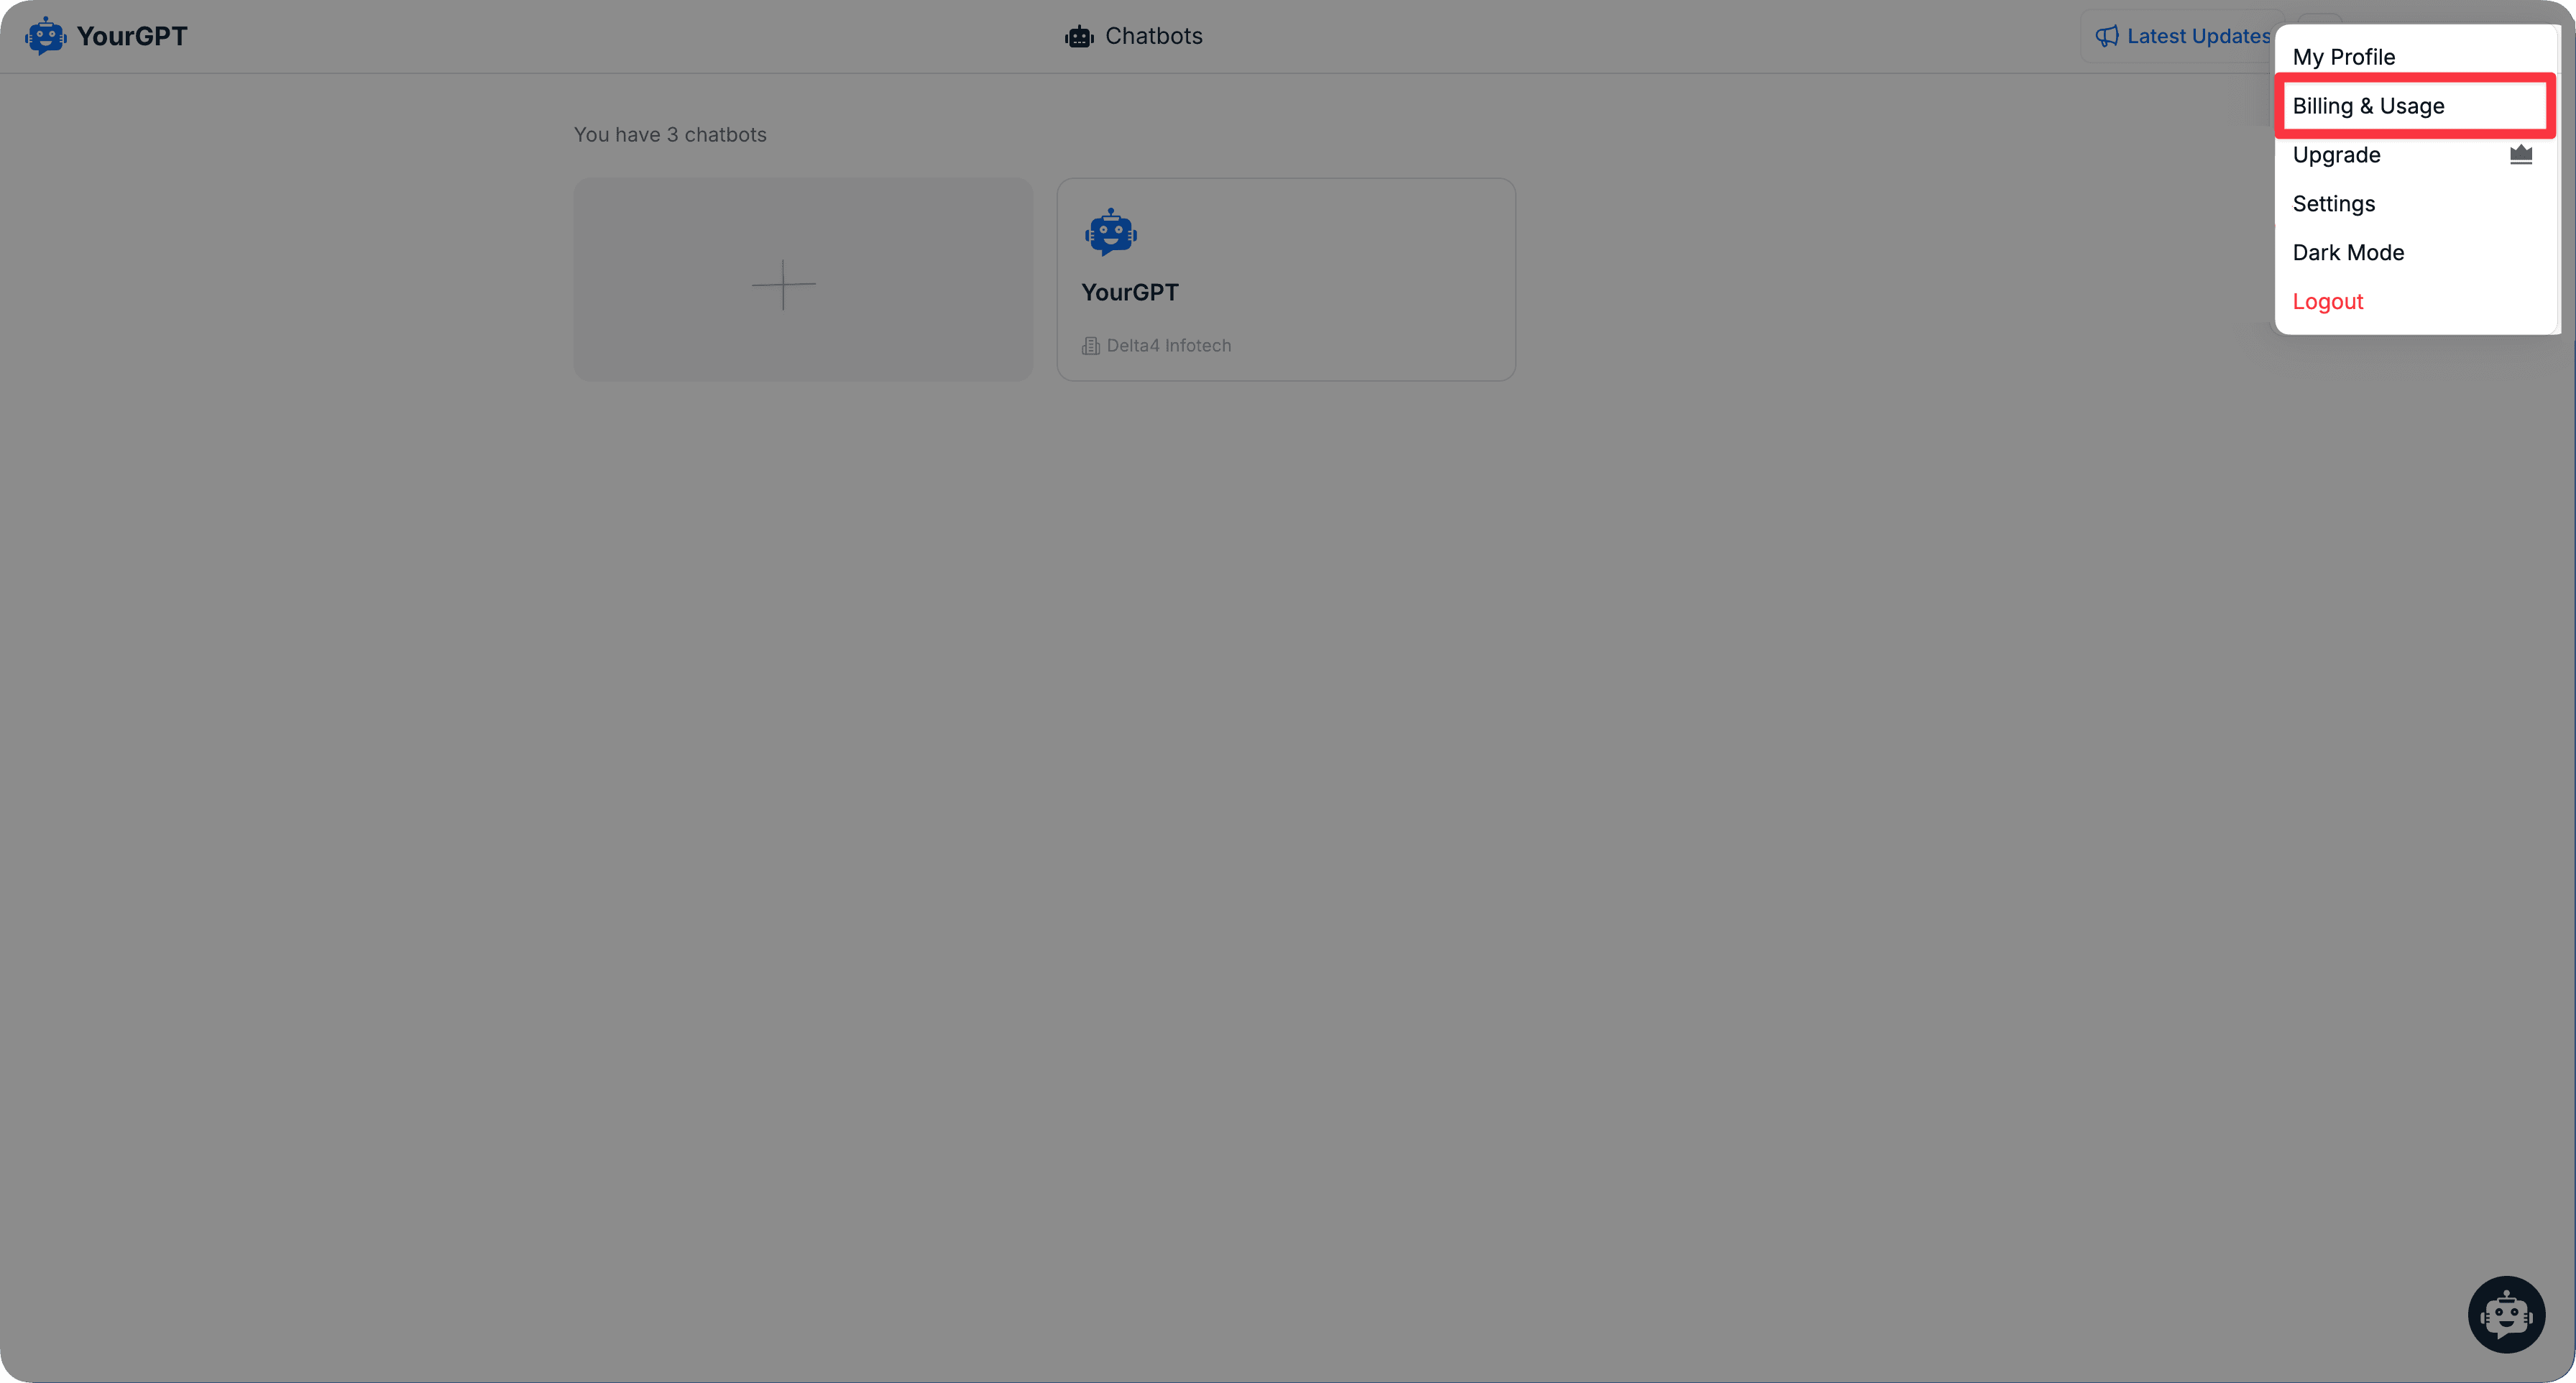
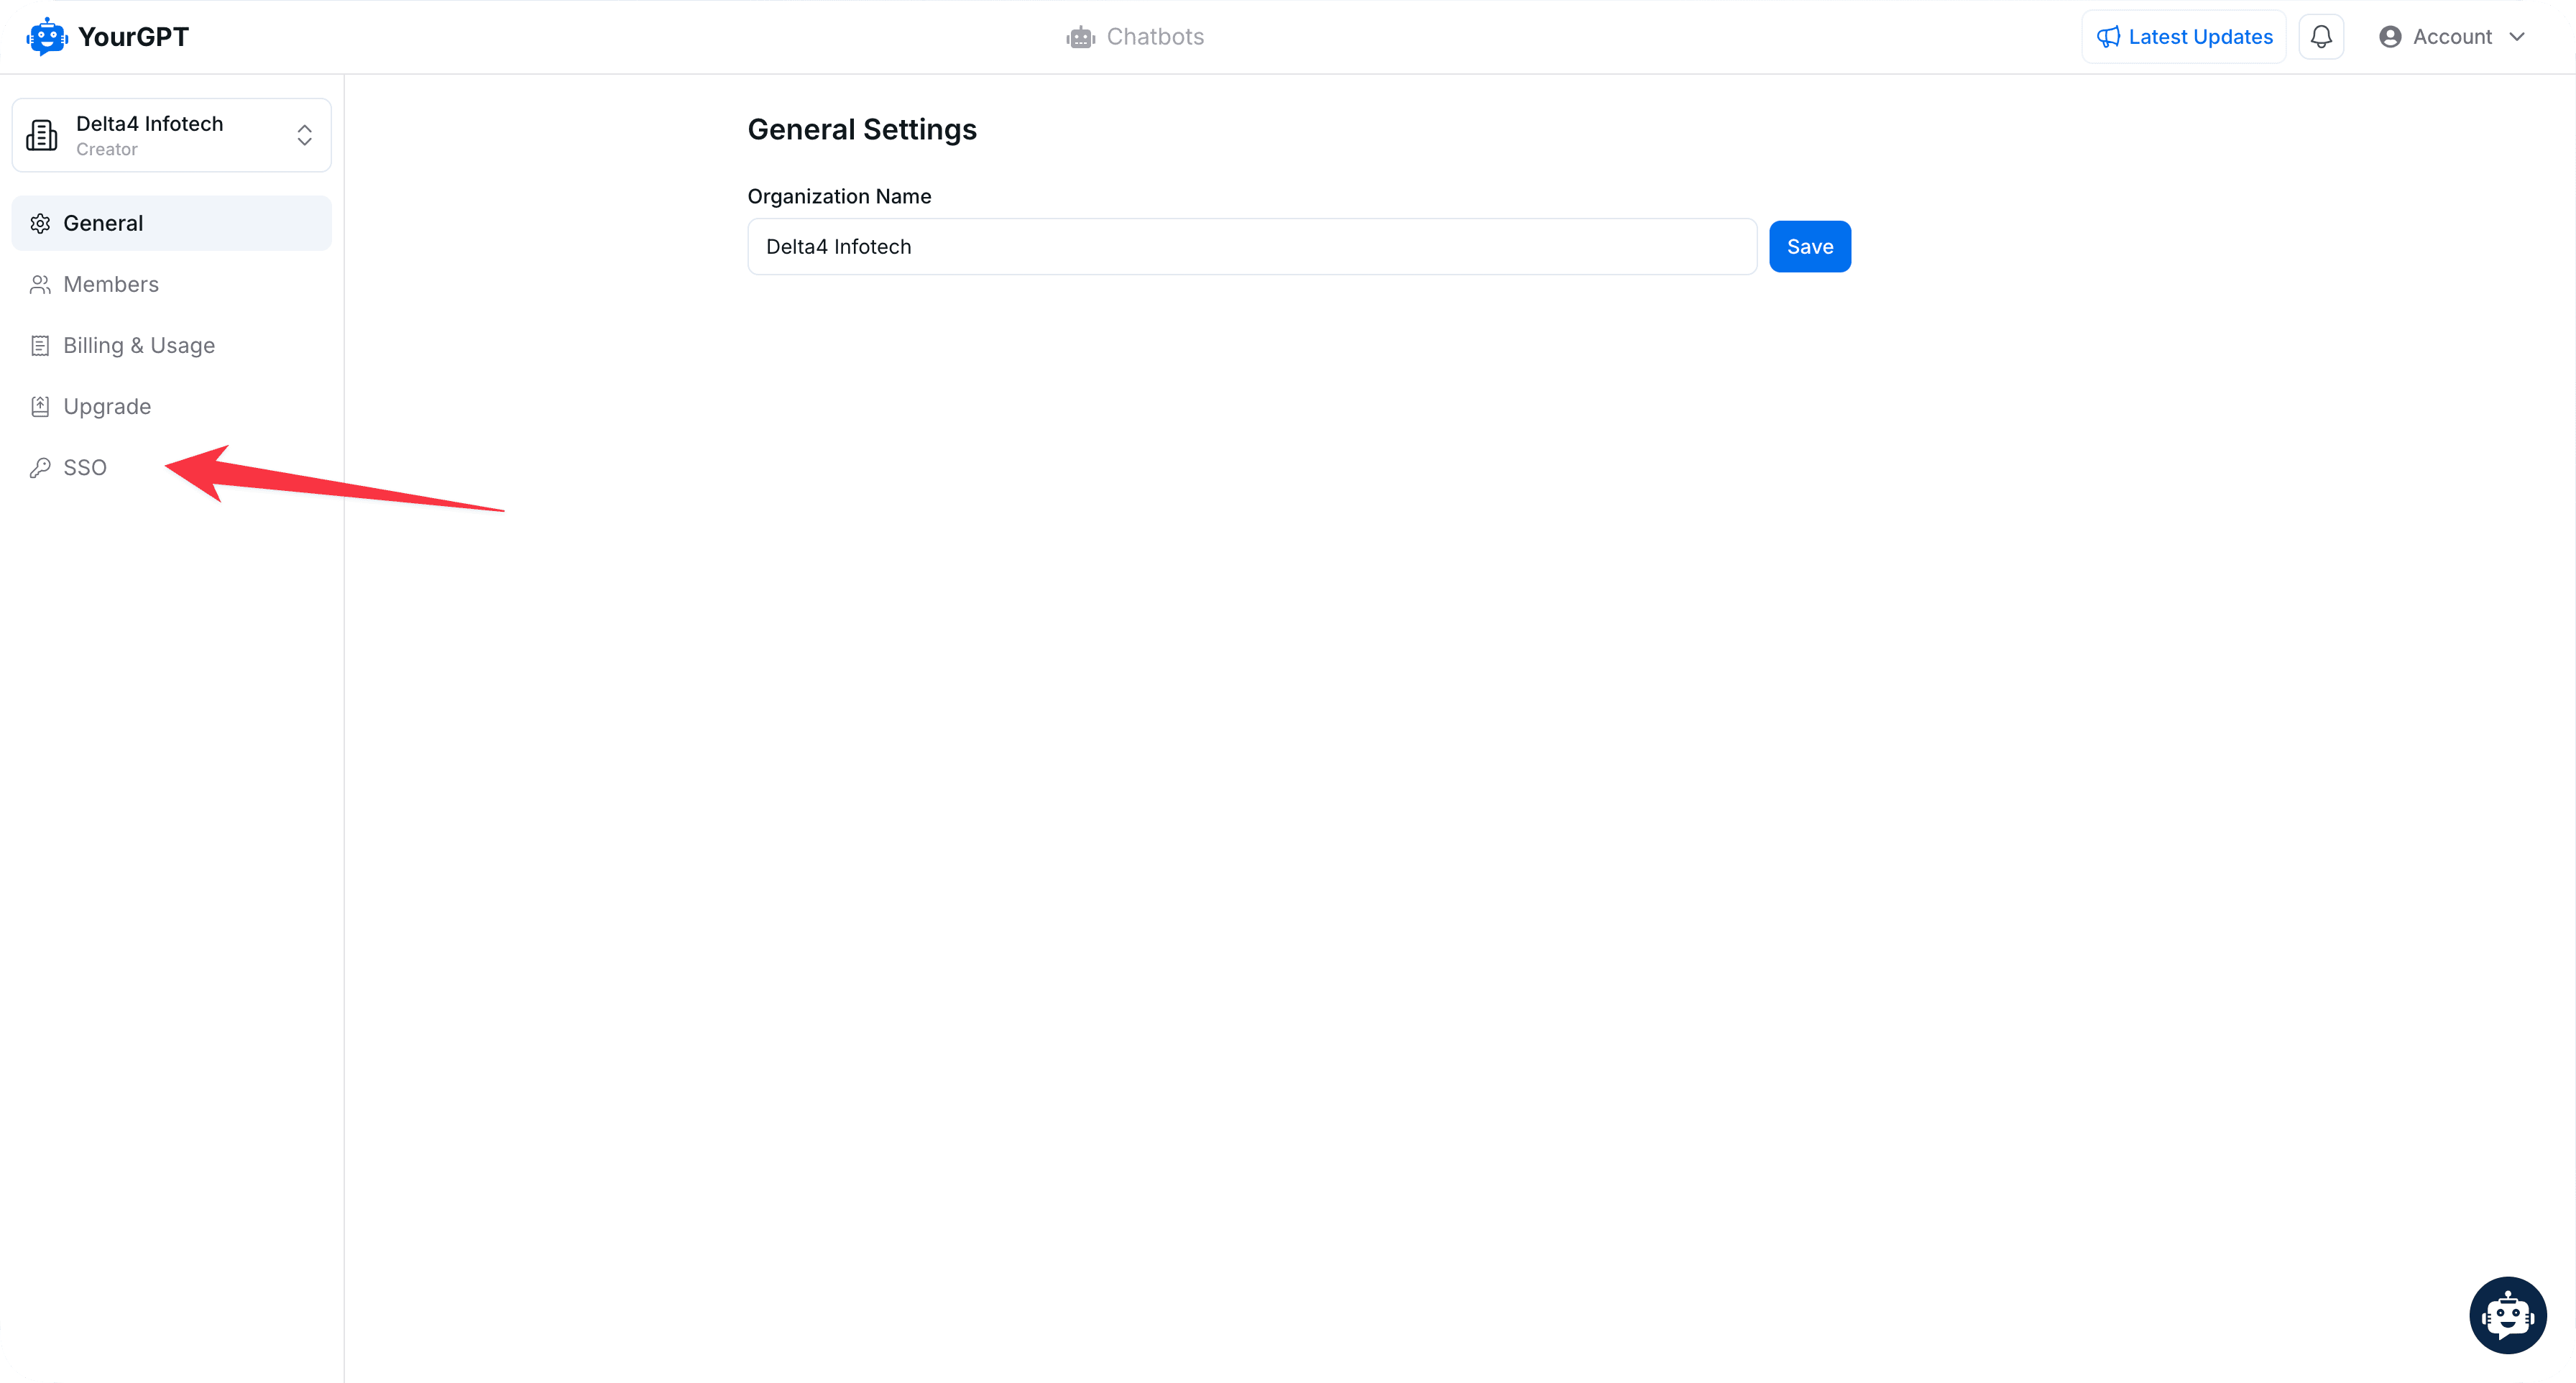
- From the left side, click on the SSO button
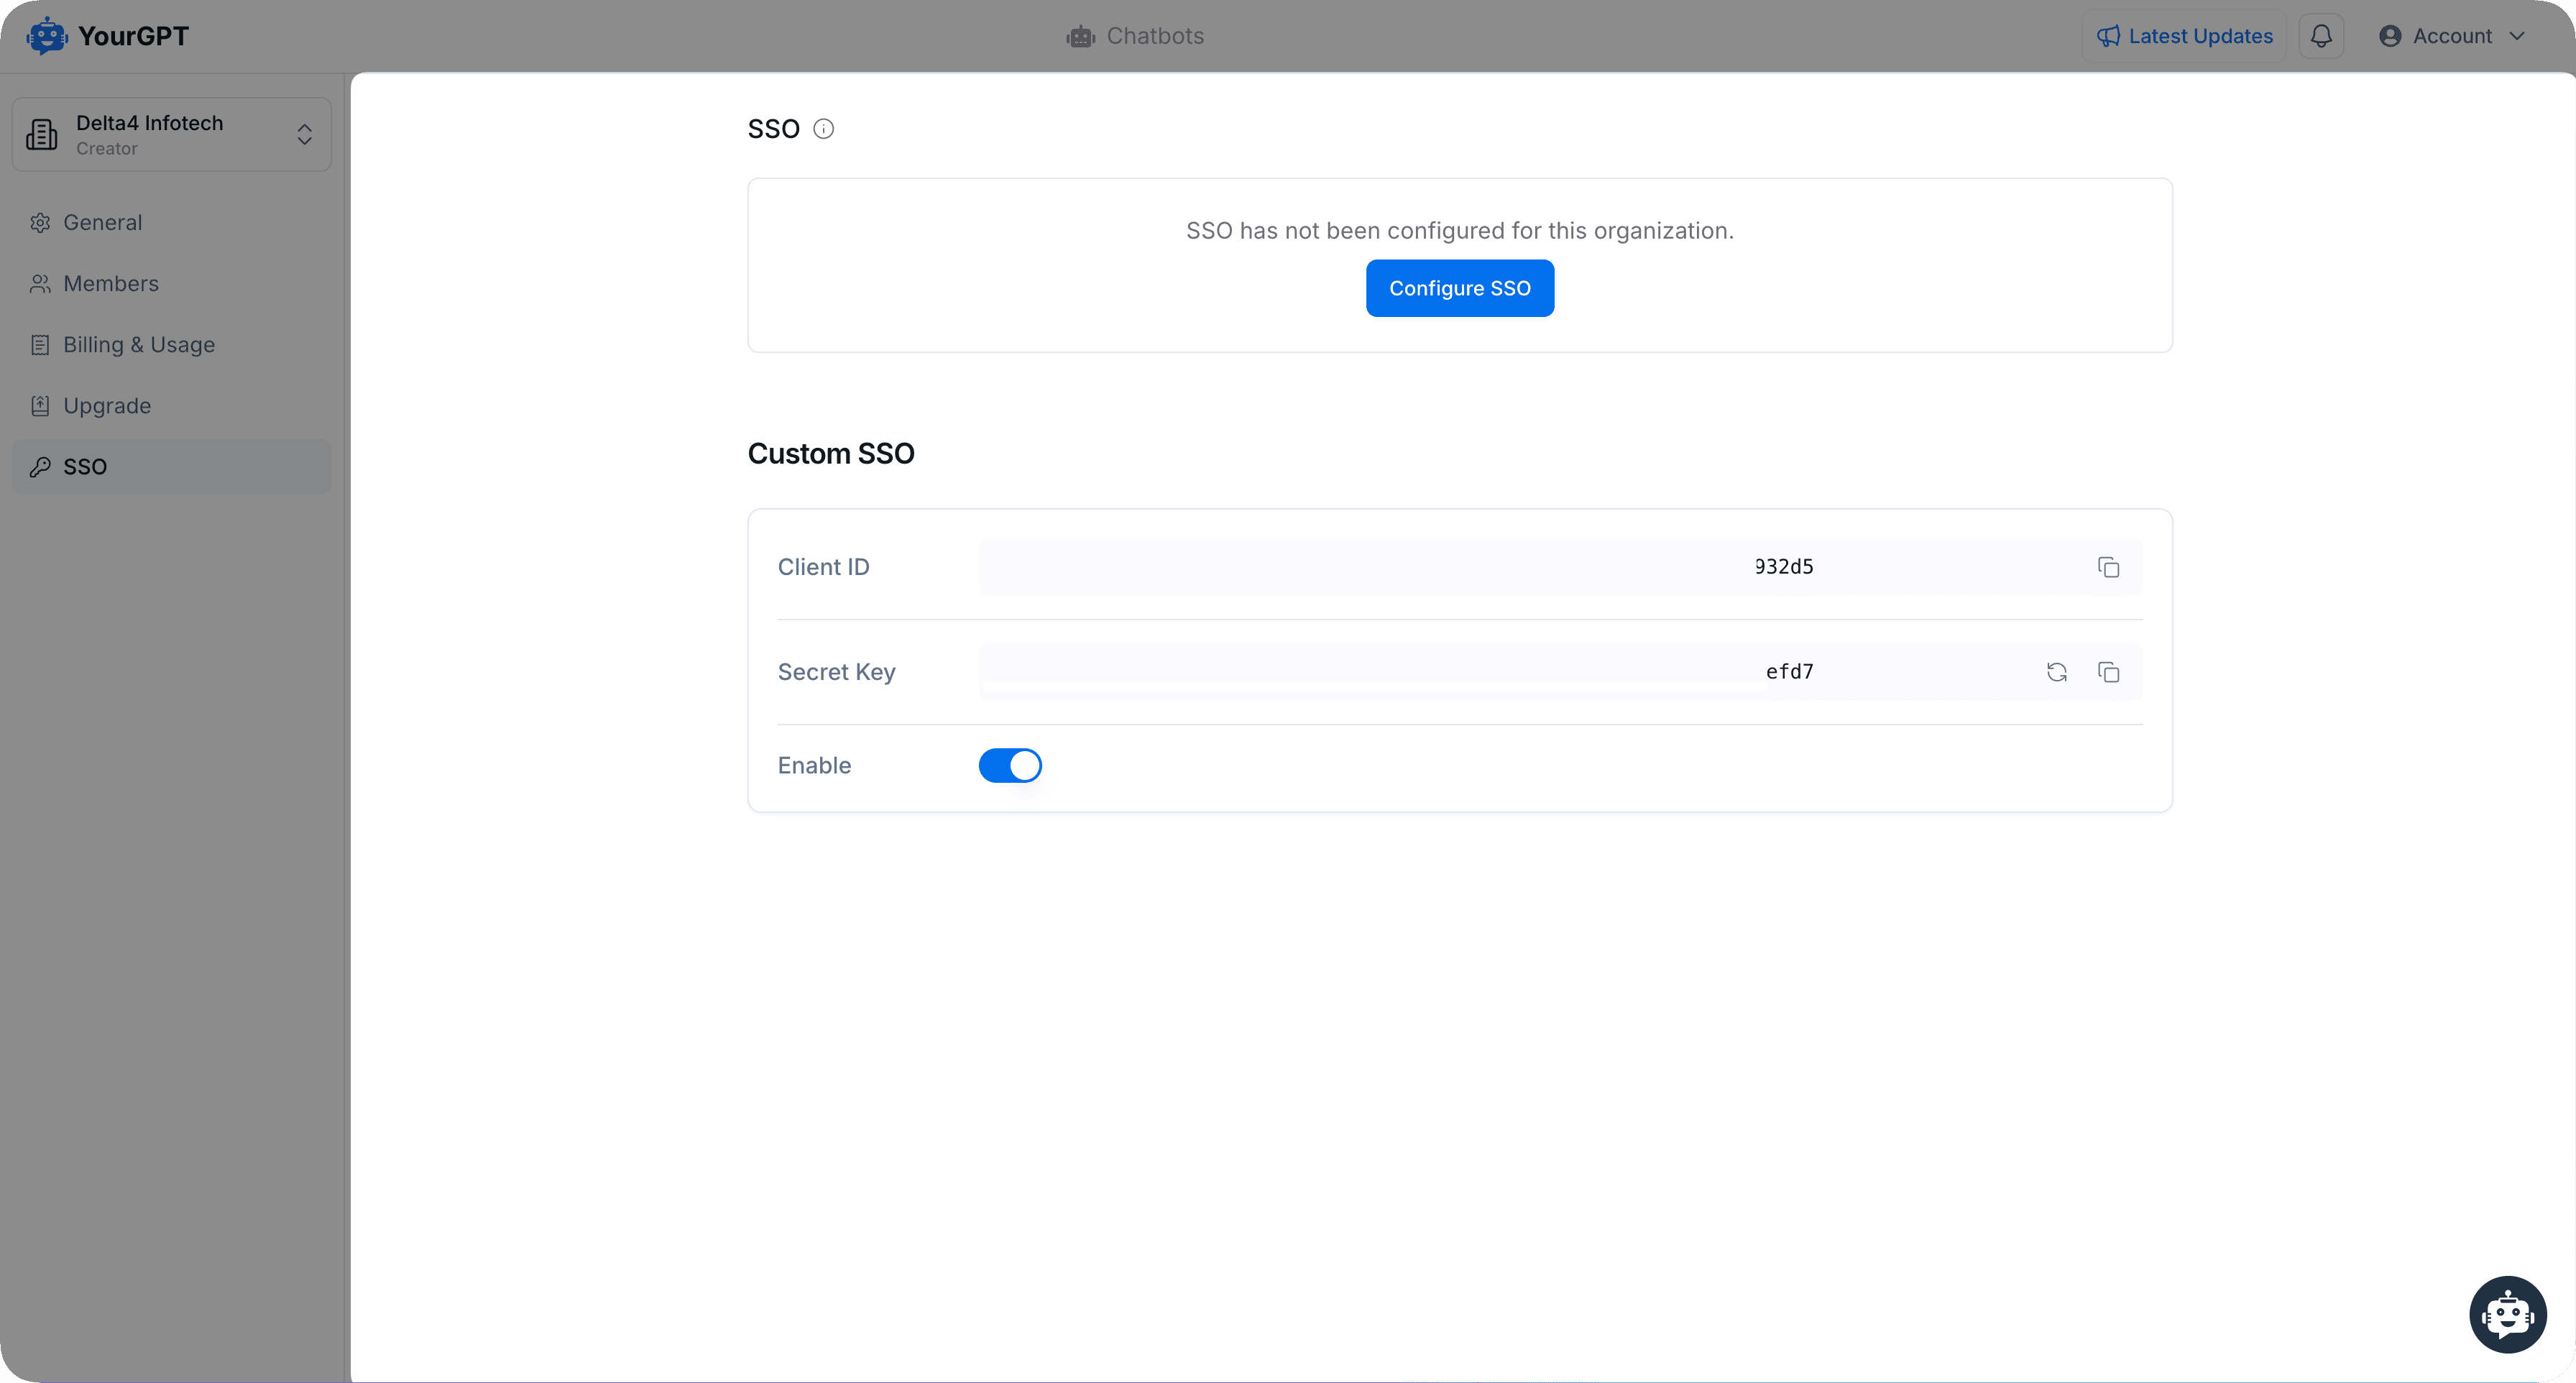
2. Generate SSO Data
Generate an SSO Client ID and SSO Secret Key for your organization.

- Copy the
Client ID&Secert key
3. Generate JWT Token
Generate a JWT token using your SSO Secret Key as shown in the code below :
let jwt = require("jsonwebtoken");

let token = jwt.sign({
	email: "john.doe@example.com", // required
	first_name: "John",            // required
	last_name: "Doe",              // required,
	username: "John2234",          // optional
	profile_pic: "https://www.example.com/profile-images/user.jpg", // optional
	phone_no: "7087675884",        // optional
	phone_code: "91",              // optional
},"your_sso_secret_key",{ expiresIn: "1h" });
4. Verify Token and Authenticate
After generating the JWT token, call this API :
curl --location --request POST 'https://api.yourgpt.ai/api/v1/verify/custom-sso?token=your_generated_jwt_token&sso_client_id=your_sso_client_id'- On success, you will receive the following response with code
200:
{
    "type": "RXSUCCESS",
    "message": "Login successful",
    "token": "generated_token",
    "code": 200
}- After receiving the token in response, redirect the user to the following URL:
https://chatbot.yourgpt.ai/process-login?token=${token_receive_from_api}- If all data is set correctly, the user will log in seamlessly to YourGPT.
- Other possible responses -
400 : "Invalid params"
401 : "Invalid SSO client id"
402 : "Invalid SSO token"
403 : "Not enough data to create user"
404 : "Your email is already registered. Please verify it to ensure a seamless login experience"
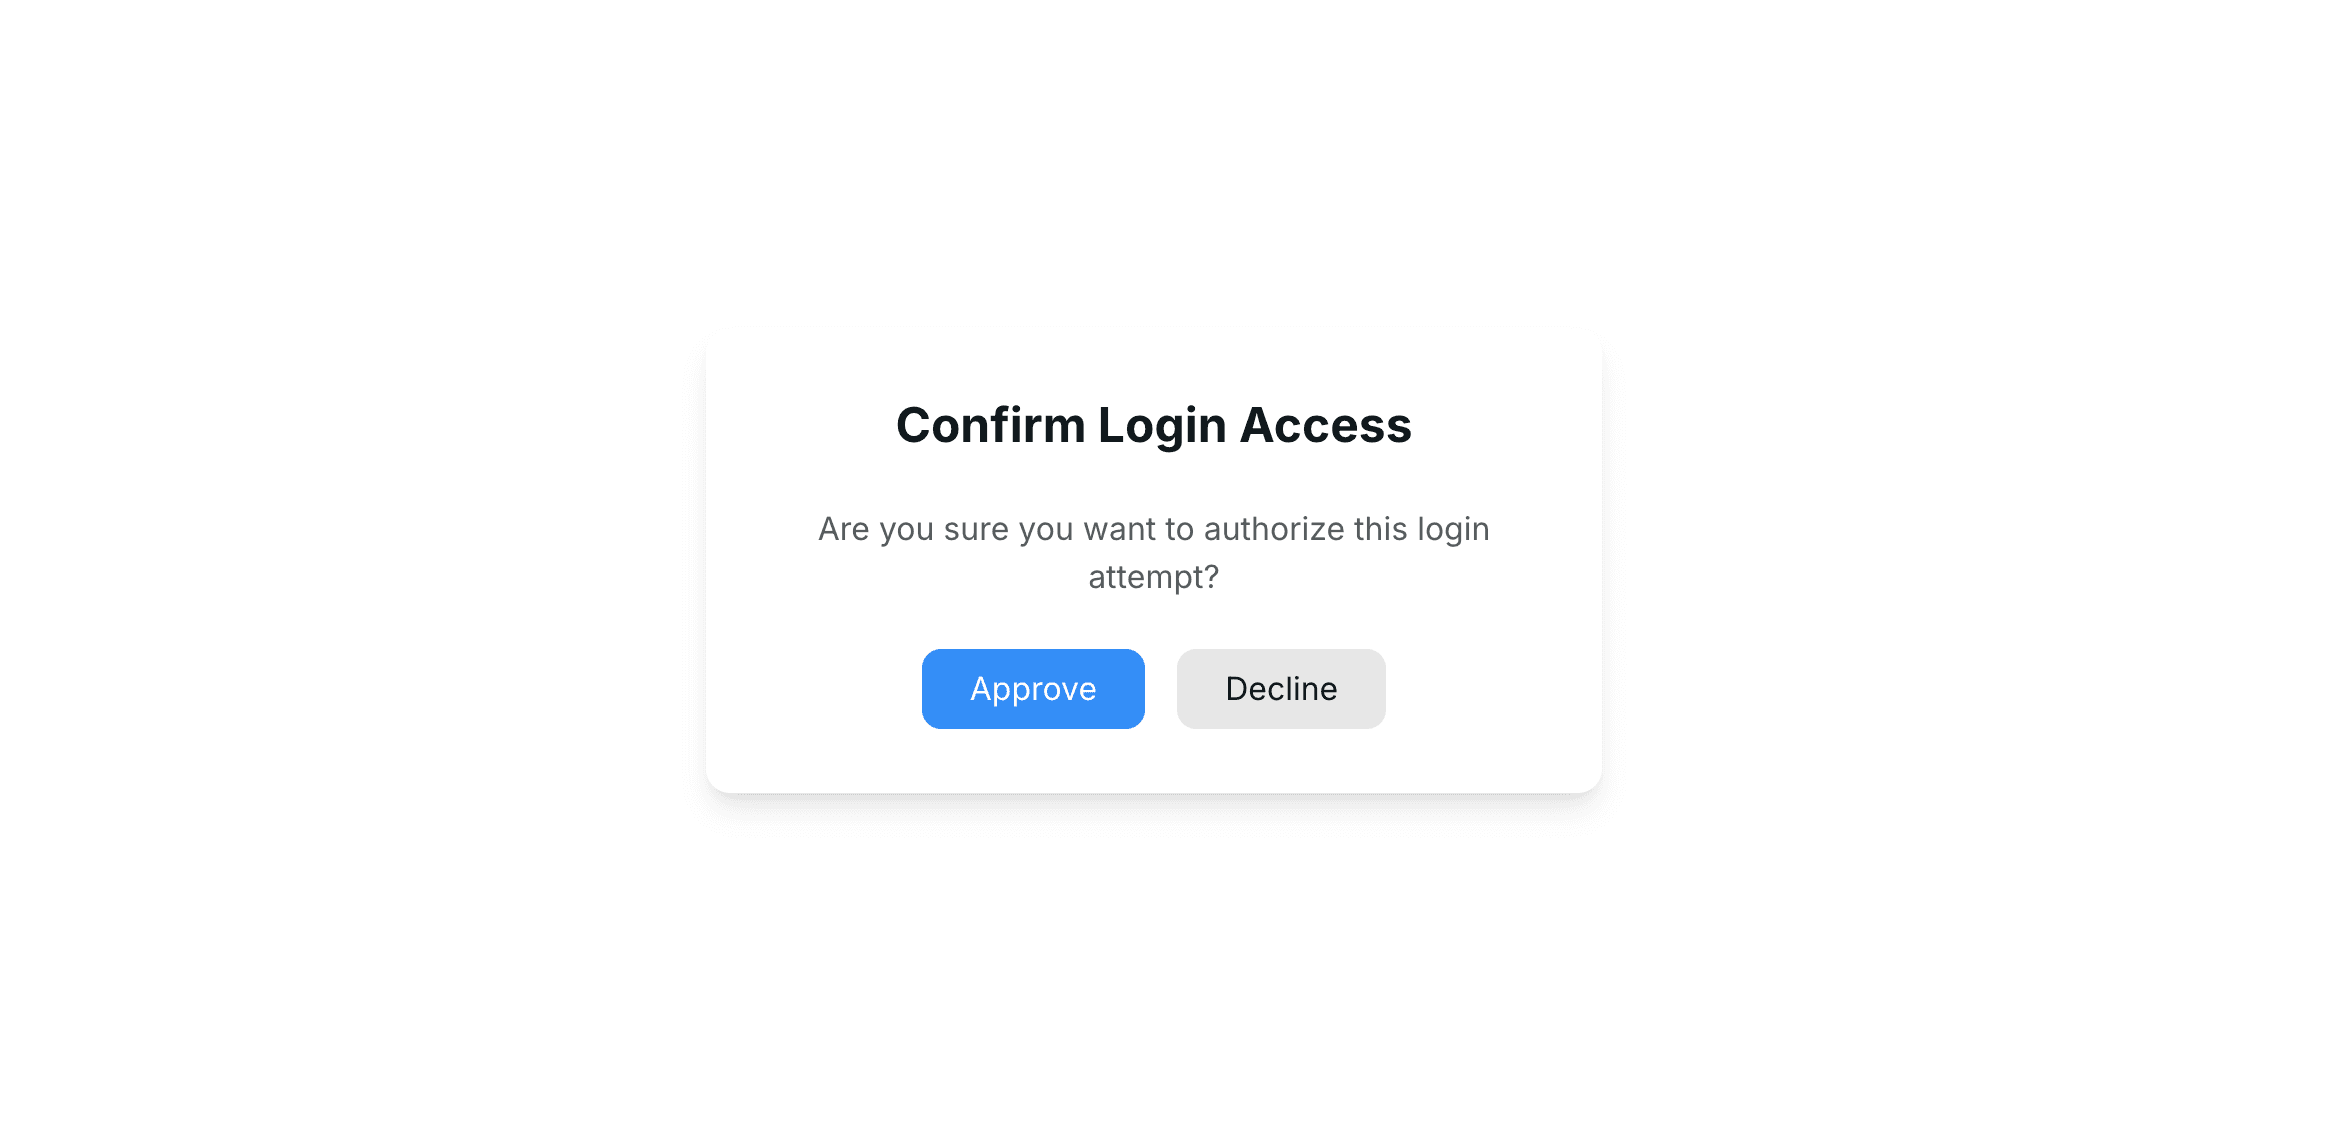
500 : "Something went wrong"5. Handle Email Verification (if needed)
If you receive the response with code 404 , you need to call the following API to confirm login access via email :
curl --location 'http://api.yourgpt.ai/api/v1/sendConfirmLoginAccessEmail' \
--header 'Content-Type: application/json' \
--data '{
    "token": "your_generated_sso_token",   // required
    "sso_client_id": "your_sso_client_id", // required
    "partner_id": "yourgpt_partner_id"     // optional
}'- On success, you will receive the following response with code
200:
{
    "type": "RXSUCCESS",
    "message": "Invitation Sent Successfully",
    "code": 200
}- After receiving the code
200, redirect the user to the following URL:
https://chatbot.yourgpt.ai/process-login?should-verify-email=true
- Other possible responses :
400 : "Invalid params"
401 : "Invalid SSO client id"
402 : "Invalid SSO token"
403 : "Email limit reached, please try again later" // 5 requests per minute
404 : "Unable to send invitation!"
500 : "Something went wrong"- Once the user confirms their login access via email, they will be automatically logged into YourGPT. The SSO integration is now complete and ready for use.
Security Considerations
- Never expose your SSO Secret Key in client-side code
- Store credentials securely in environment variables
- Email verification requests are rate-limited (5 requests/minute)