WordPress
GPT Chatbot for WordPress | Integration Guide
Connecting Your Chatbot with WordPress
Installation using WordPress Plugin Marketplace
1. Log in to WordPress Admin Panel
- Sign in to your WordPress admin panel.
2. Go to the Plugins Section
- Navigate to the Plugins section from the WordPress dashboard.
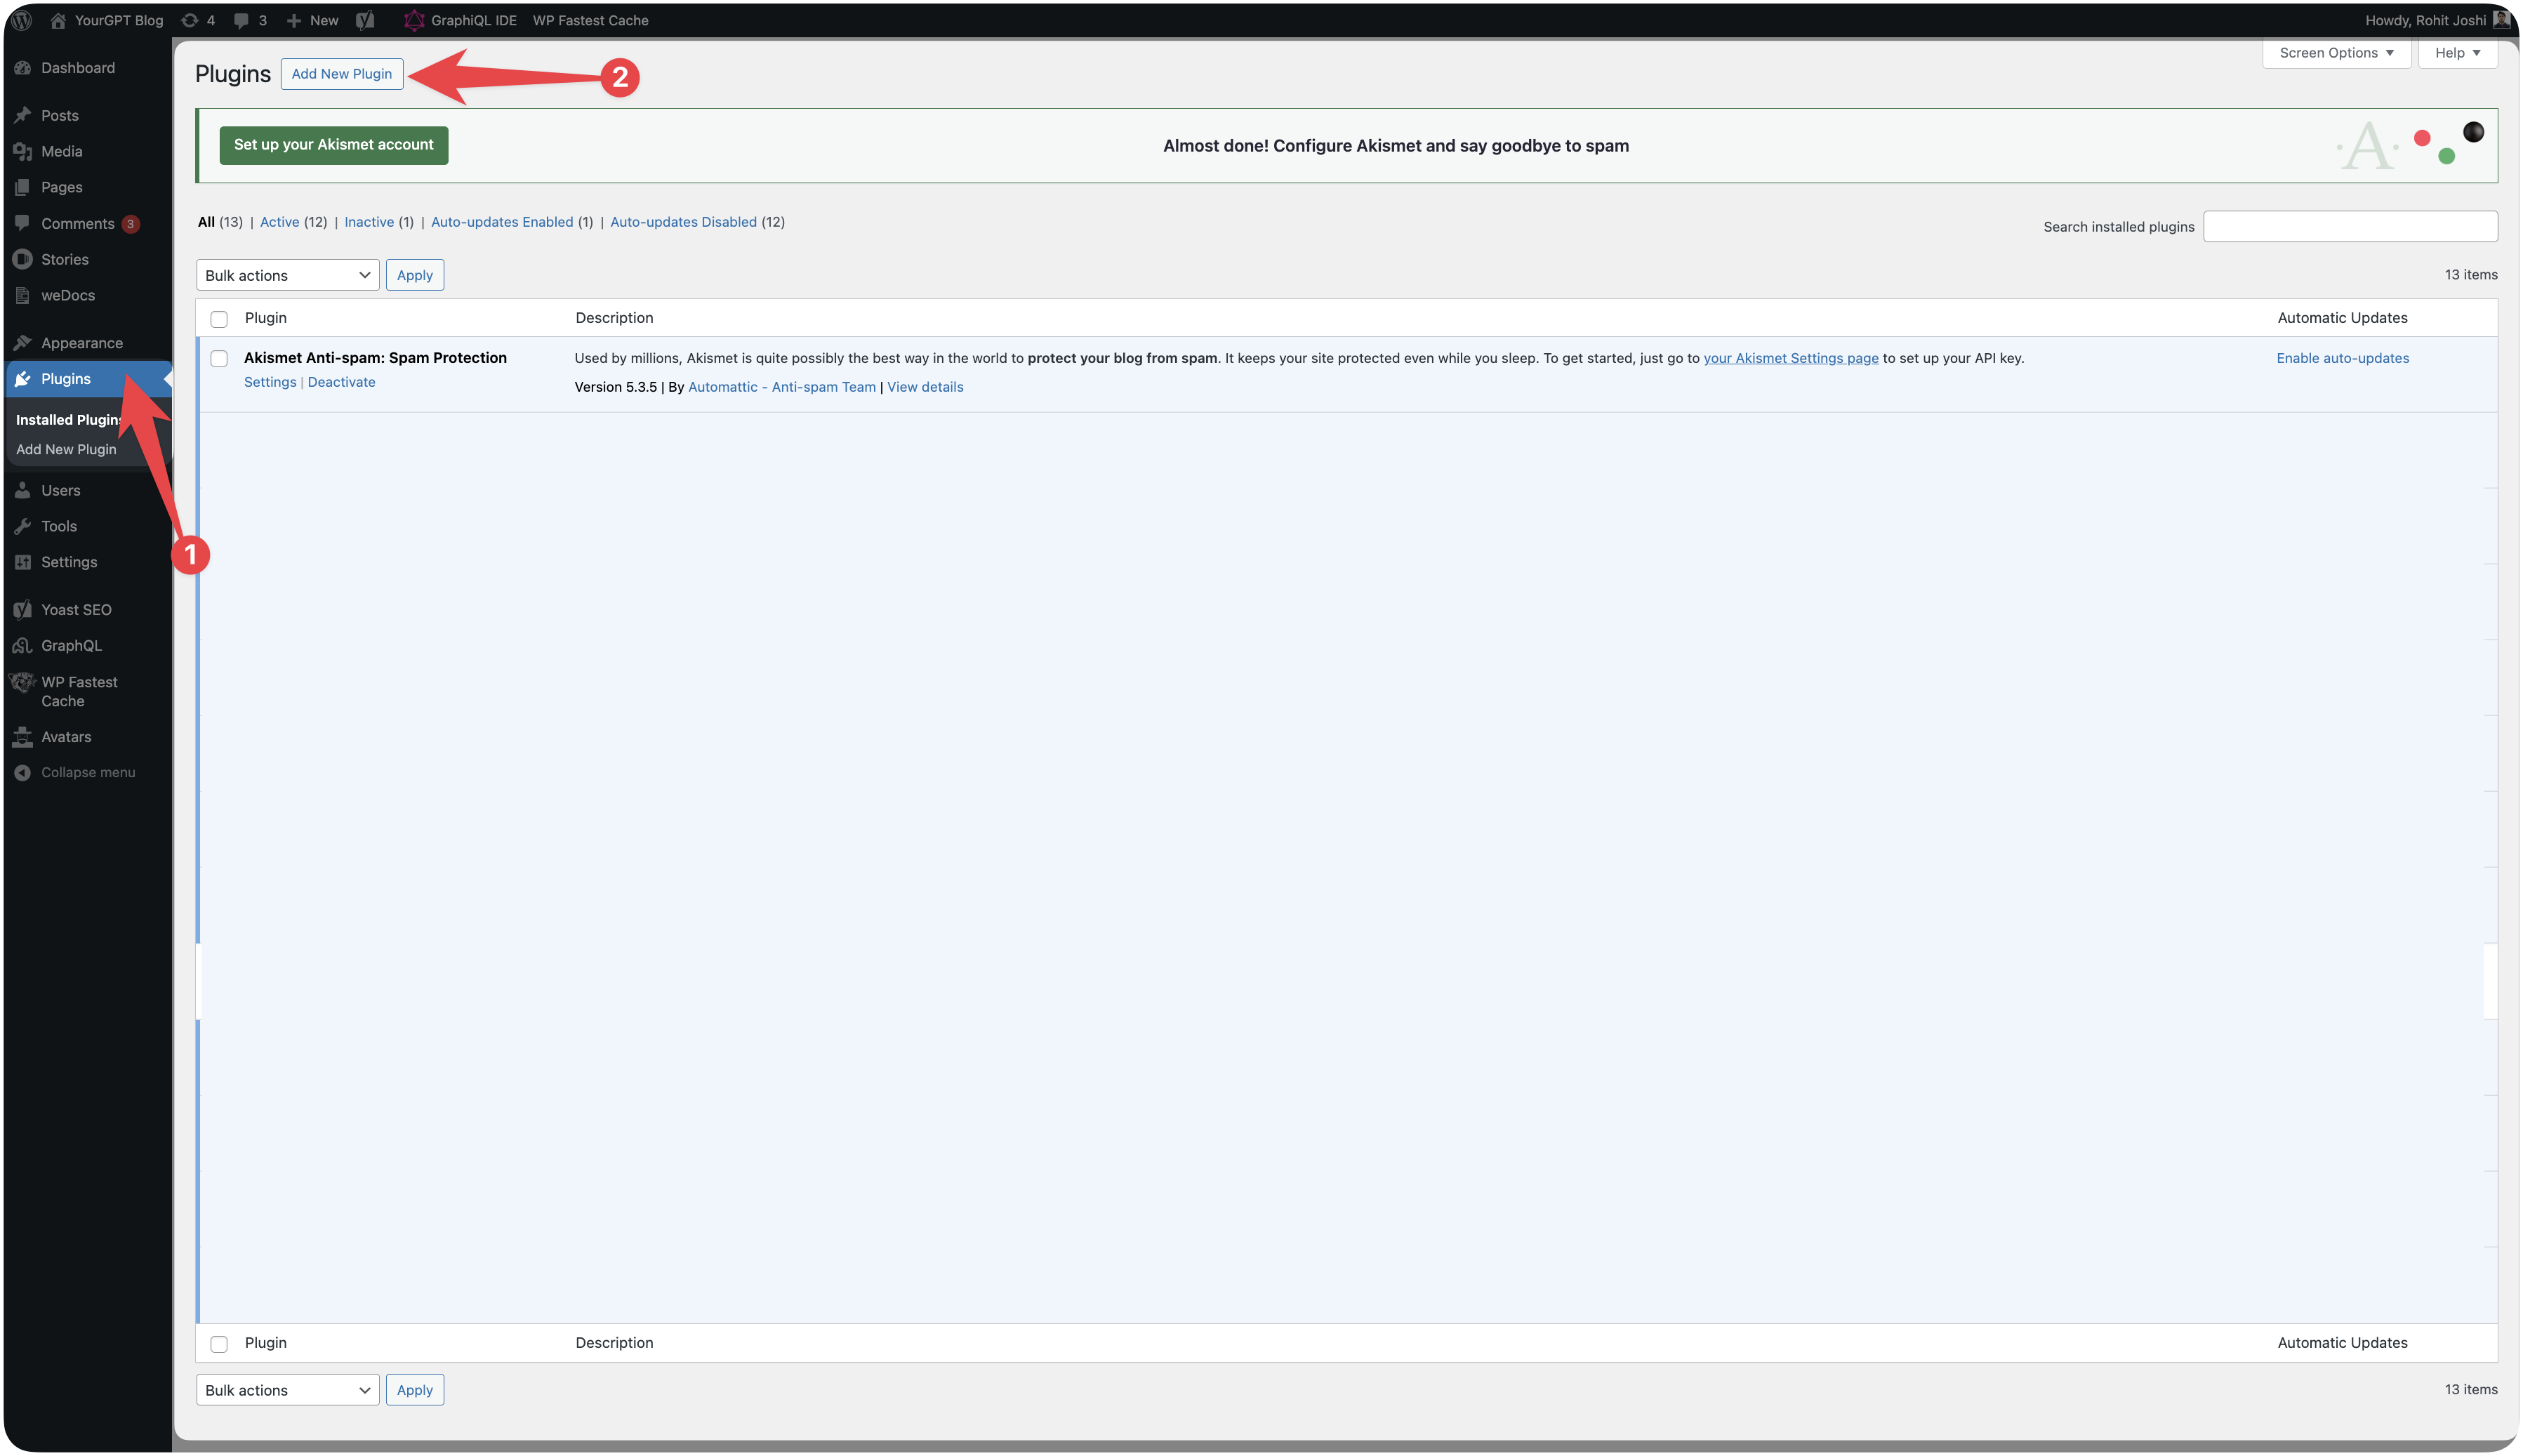
3. Search for Plugin
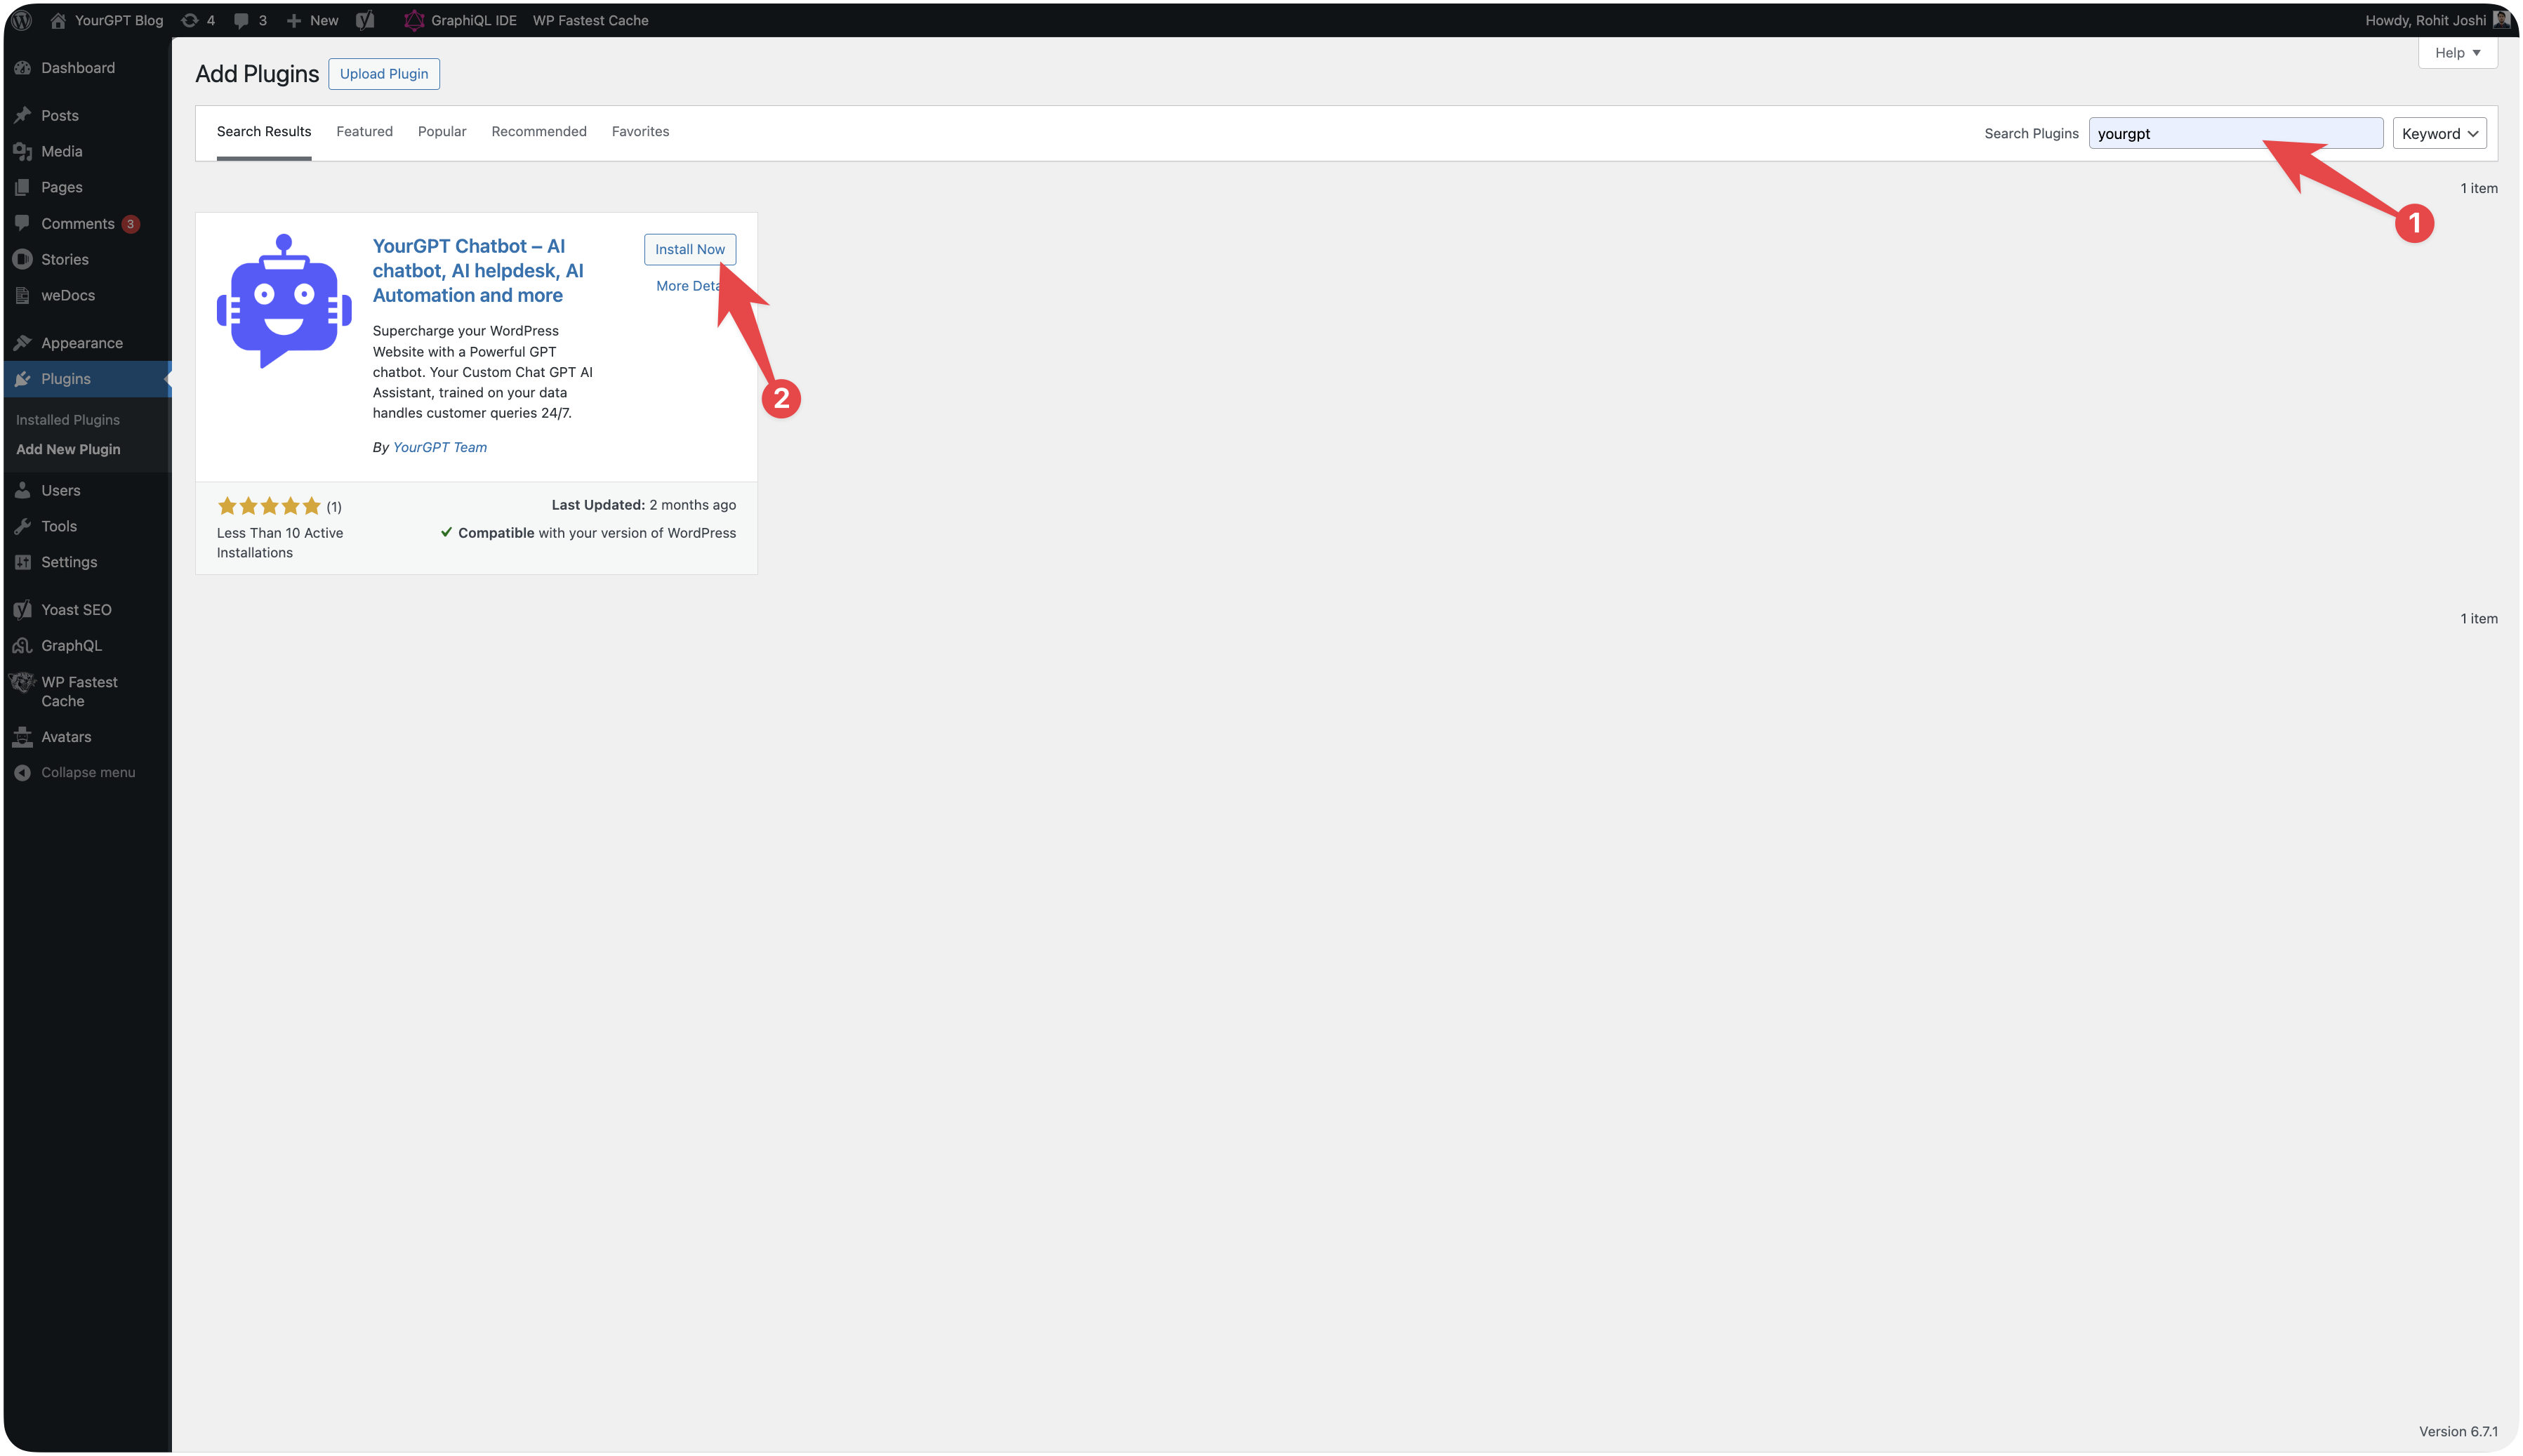
- Search for YourGPT Chatbot in the search bar.
- Click on Install Now.
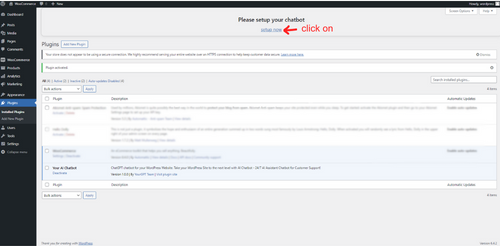
- Click on Activate.
- Click on Setup.
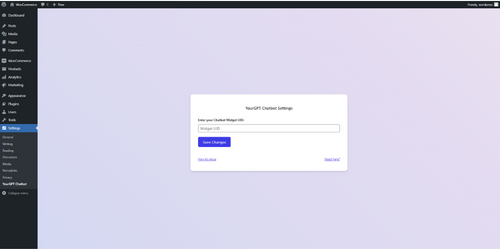
4. YourGPT Chatbot Integration
Visit the YourGPT Chatbot integration page, copy the widget ID, and paste it into the WordPress plugin settings.
5. Paste Widget ID
- Paste the widget ID in the WordPress settings.
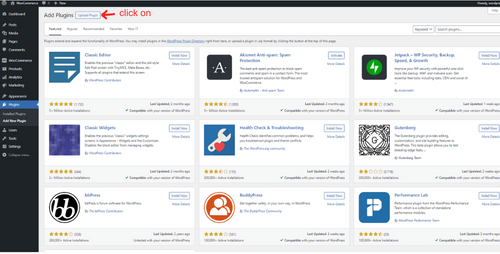
Installation using GitHub (optional)
If you already installed the plugin from the marketplace, you can skip this step.
If you want to install it directly via GitHub instead, follow the steps below:
1. Log in to WordPress Admin Panel
- Sign in to your WordPress admin panel.
2. Go to the Plugins Section
- Navigate to the Plugins section from the WordPress dashboard.
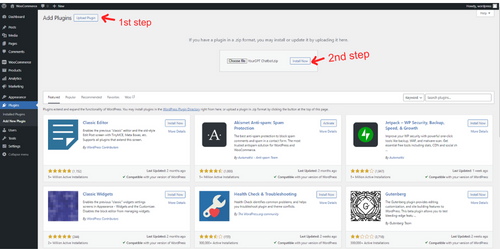
3. Download
Download the source.zip for the chatbot package from YourGPT GitHub.
4. Upload Package
- Upload the package to WordPress.
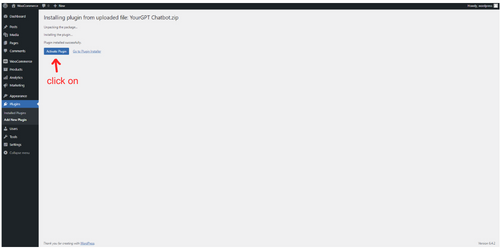
5. Activate Plugin
- Click on the Activate button to activate your plugin.
6. YourGPT Chatbot Integration
Visit the YourGPT Chatbot integration page, copy the widget ID, and add it in WordPress.
7. Paste Widget ID
- Paste the widget ID in WordPress settings.
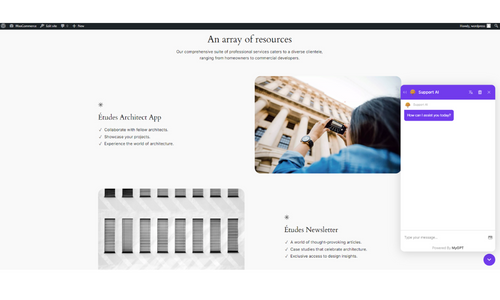
Congratulations! YourGPT Chatbot is now successfully integrated into your WordPress website.
Generating Token for WooCommerce (Chatbot Studio)
To generate a WooCommerce API token, follow these steps:
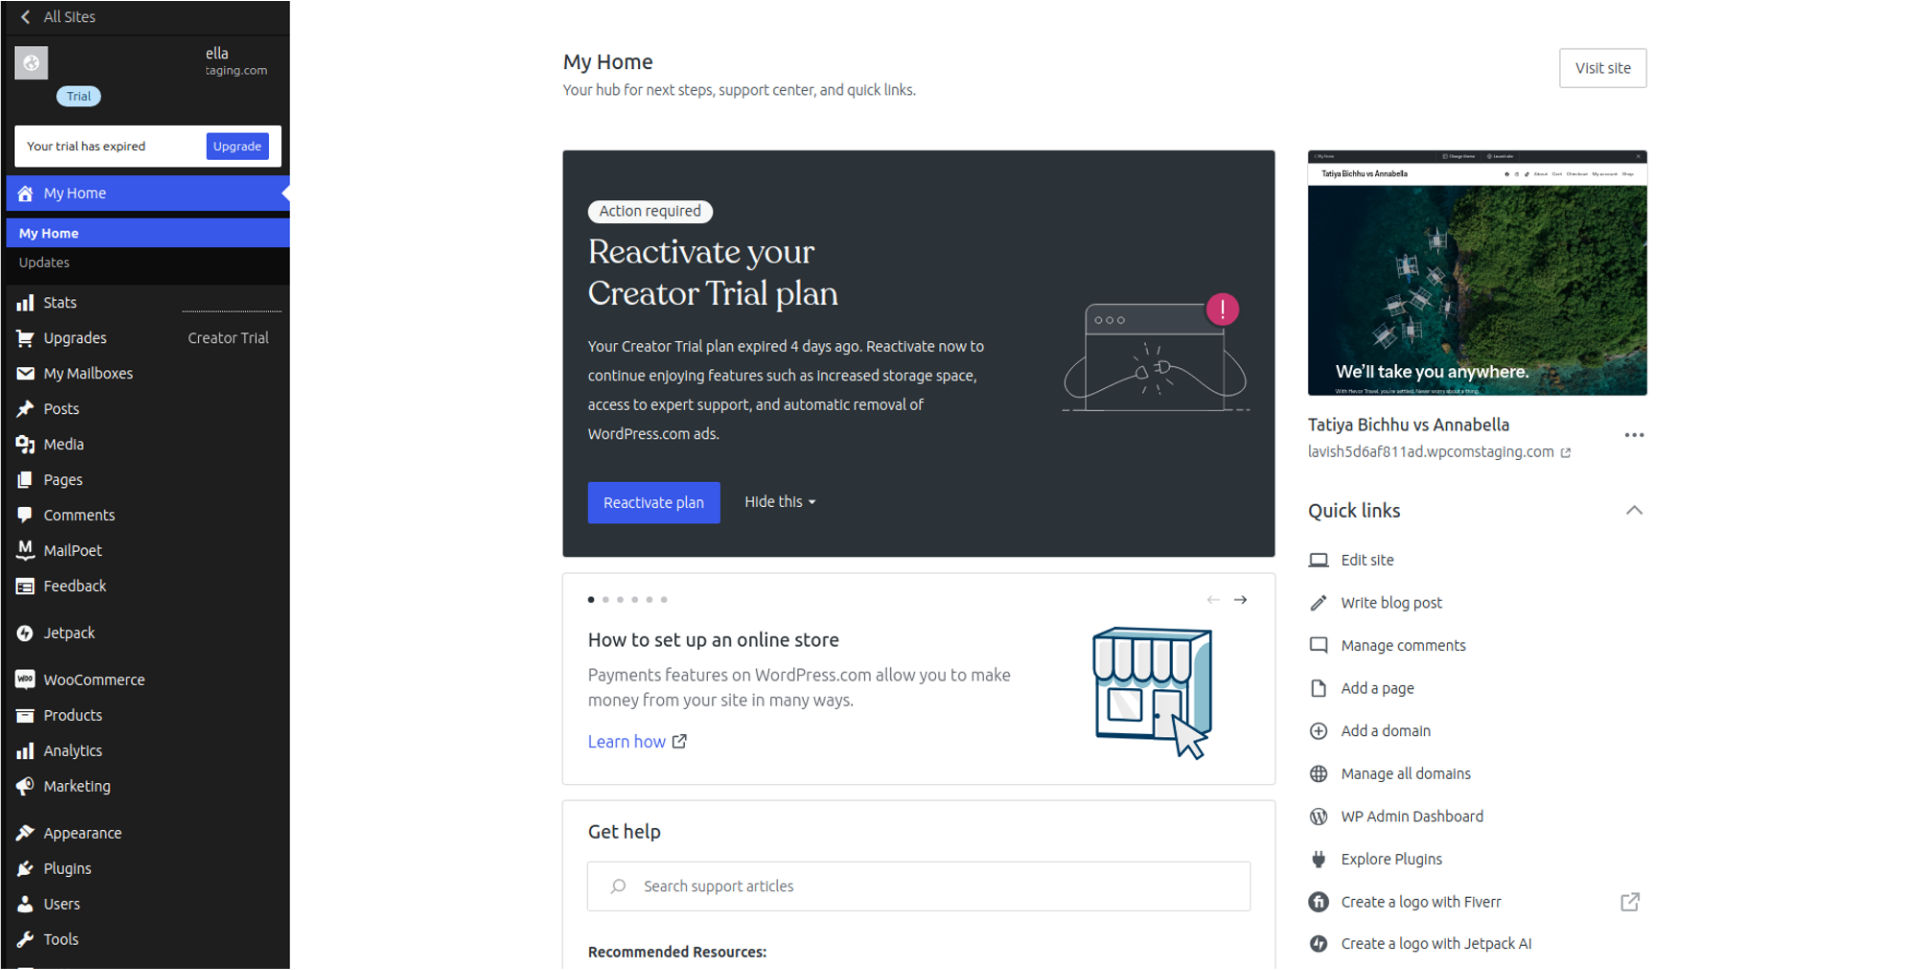
1. Log in to Your WordPress Account
2. Go to the Admin Panel
3. Install WooCommerce Plugin
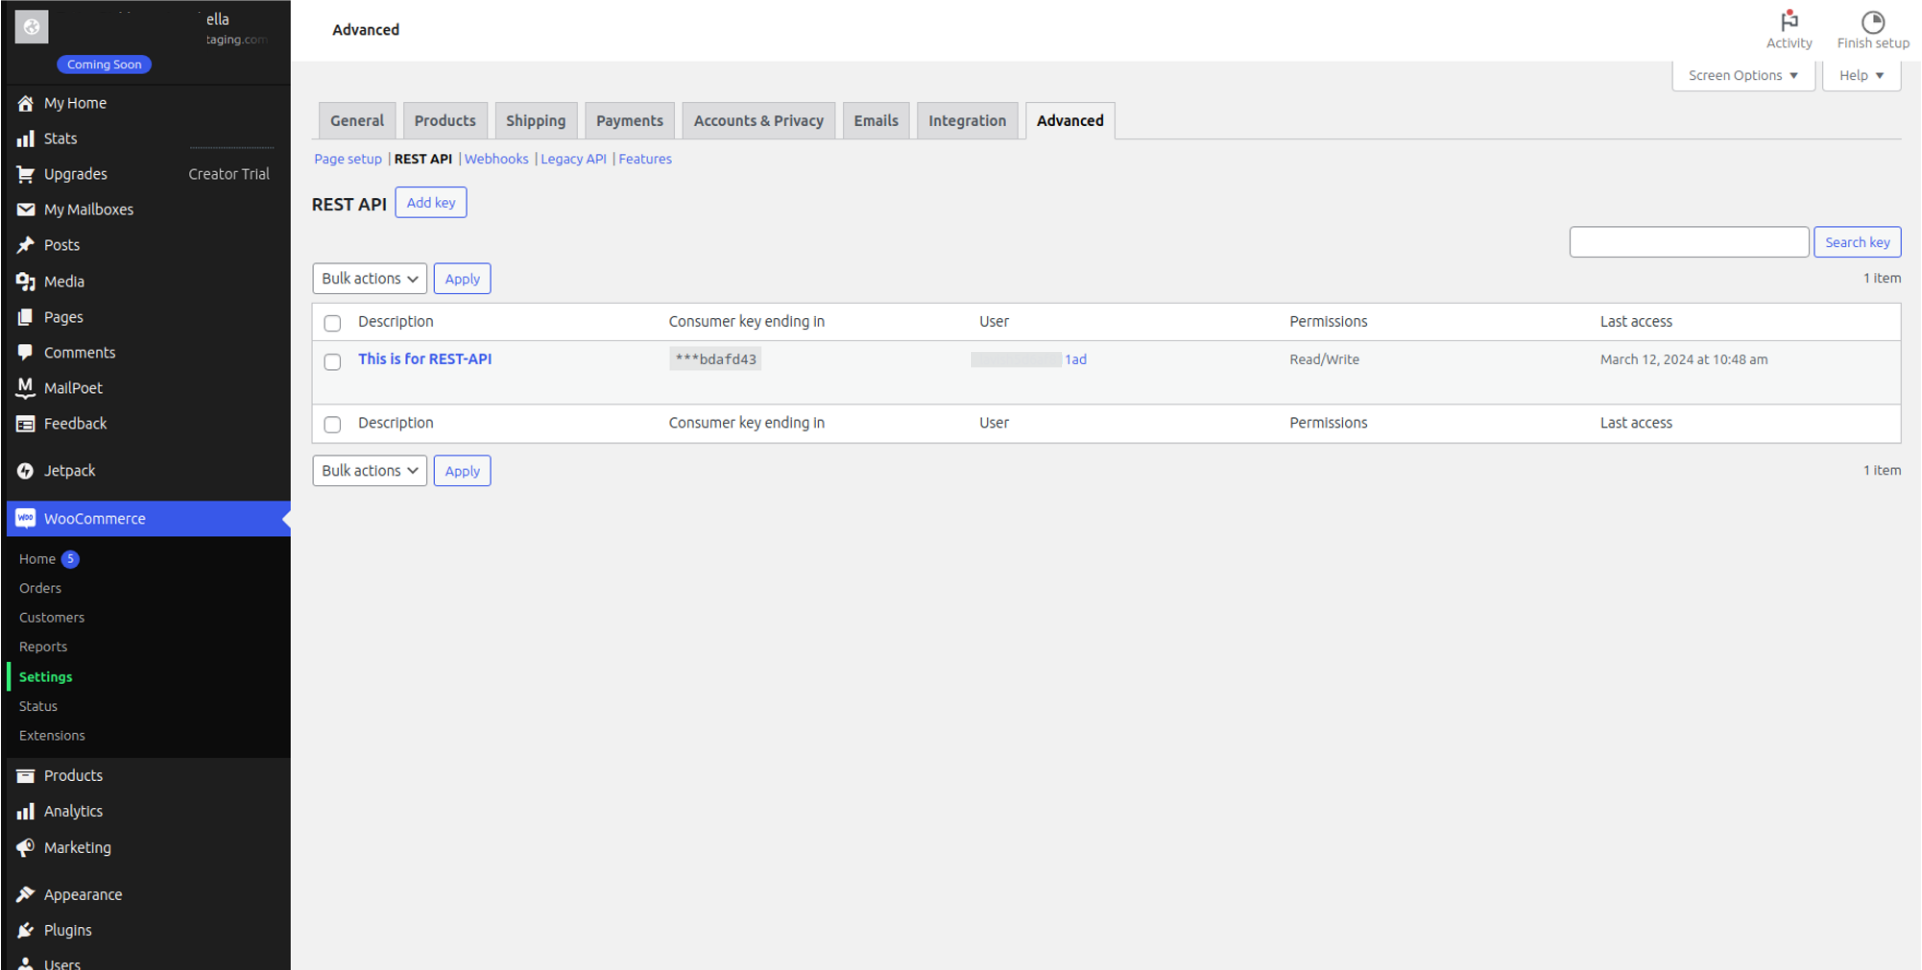
4. Open WooCommerce Settings
Go to WooCommerce → Settings → Advanced → REST API.
5. Click on Add Key
6. Fill in the Necessary Details
Select Read/Write for permissions if you want the API key to have both read and write access.
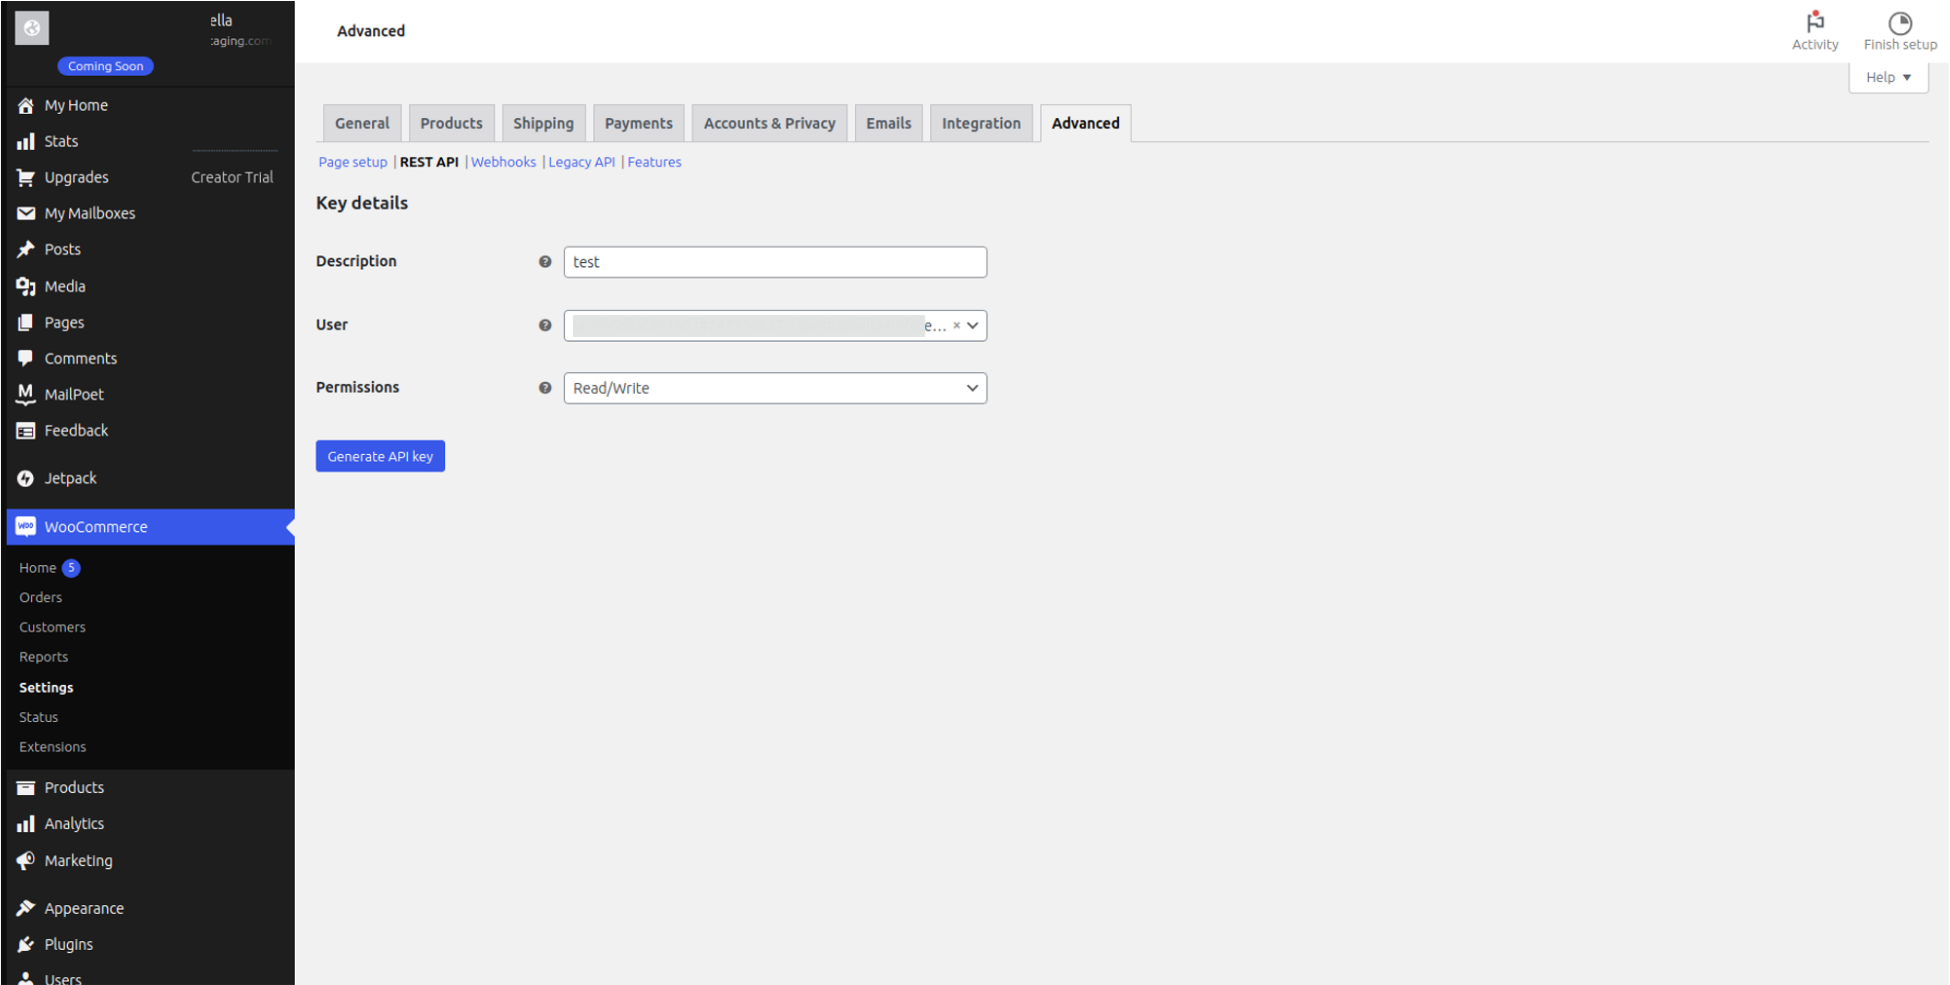
7. Click Generate API Key
8. Copy Credentials
You will now see a QR code, a Consumer Key, and a Consumer Secret.
You can use these details to authenticate your application with your WooCommerce store.
Remember to store this information securely, as it will not be shown again.
Troubleshooting Tips
For technical support regarding GPT Chatbot integration with WordPress, contact:
Enjoy an enhanced user experience with GPT Chatbot seamlessly integrated into your WordPress site!